

Course Tour
Never Played Dunheved Golf Course Before? Not A Problem Because Our Course Tour Will Give You The Tips & Tricks To Play Your Best! On Your First Visit!!
Scorecard
Course Layout
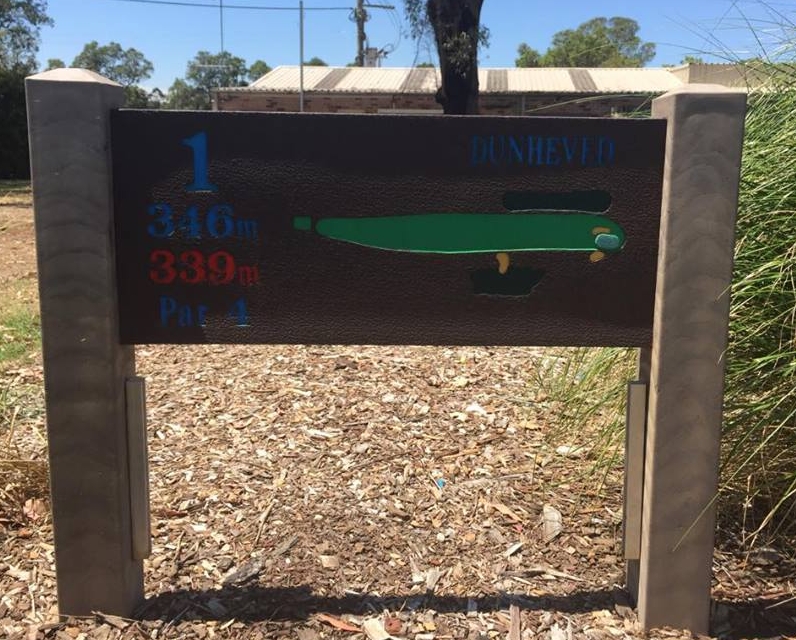
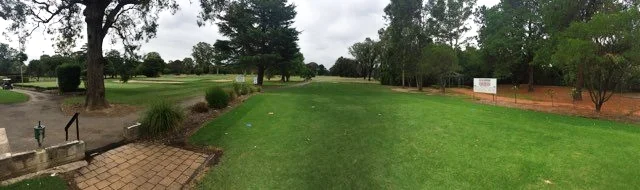
Hole 1 - Par 4 - 346m - Index 12
A nice short par 4 to start off the round. OOB to the left of the tree's and and a fairway bunker down the right hand side about 220m from the tee. The hole then slopes down the hill feeding to the right hand side and leads to a green protected by bunkers on both sides.

Hole 2 - Par 5 - 474m - index 17
The second hole is a tricky dogleg par 5. big drive Needed to cut the corner but doing so will leave you with less then 200m to the green. Golfers must be careful with their second shots as a creek running across the fairway 150m out from the green. The green is flanked on either side by bunkers and Missing this green long will make for a tough up and down.

Hole 3 - par 4 - 344m - index 6
The third hole is a tough little Par 4 that slightly doglegs off to the left just before the green. Your best option here is to hit a driver down the right hand side so as to not block off your second shot into the green. A good drive down the left hand side could catch the slope and roll into the hazard. Long hitters should be looking to hit a good 3 wood down the right hand side. This is a tough back to front sloping green that is guarded on either side by bunkers. Missing this green left is better than missing right.
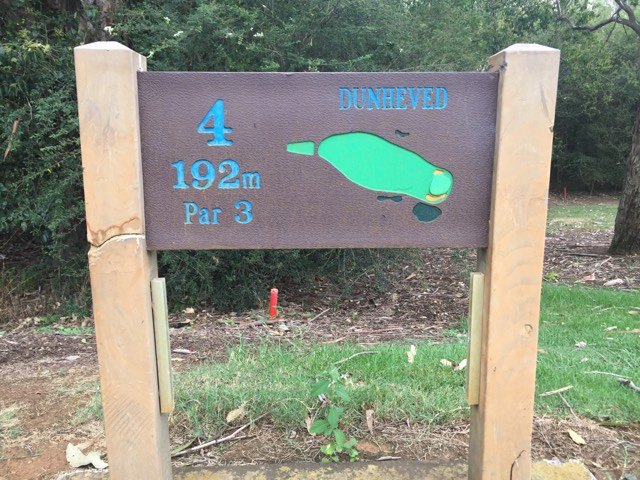
Hole 4 - par 3 - 192m - index 4
The 4th hole is a long, tough par 3 that requires golfers to hit a long iron or wood into a raised back to front sloping green. The green is guarded on either side but be aware that any player whose ball finishes behind the hole will have a tough putt for either birdie, par or worse. Hazard down the right side will catch any sprayed tee shots.

Hole 5 - par 5 - 512m - index 11
The 5th Hole is one of the longest holes on the course and involves a tough approach shot into the green. The hole turns off to the right from the tee with hazard on the far left if you miss the fairway. Big hitters need to stay right of centre to avoid hitting it through the fairway. The fairway then thins out towards the green requiring an accurate 2nd shot to the right hand side of the fairway so that you have a straightforward wedge into the hole for your 3rd. Watch out for the overhanging branches on the left hand side that can block any approach shot from the left hand side of the fairway. The green has two tiers and slopes from back to front with hazard left and behind the green.

Hole 6 - Par 4 - 400m - Index 3
This is one of the hardest holes on the course, a long par 4 requiring a mid to long iron into a small and tough two tier green that is tightly guarded by bunkers either side of the green. Do not go long over this green as it will leave players with a tough chip back down the slope from thick rough.

Hole 7 - Par 4 - 326m - Index 16
The 7th hole is similar in design to the previous hole with a back to front sloping green guarded by bunkers on either side. However this hole only measures 326m and a stray approach shot to the left could leave you in the water. The hole slopes down towards the green so 3 wood off the tee here is perfect for most golfers.
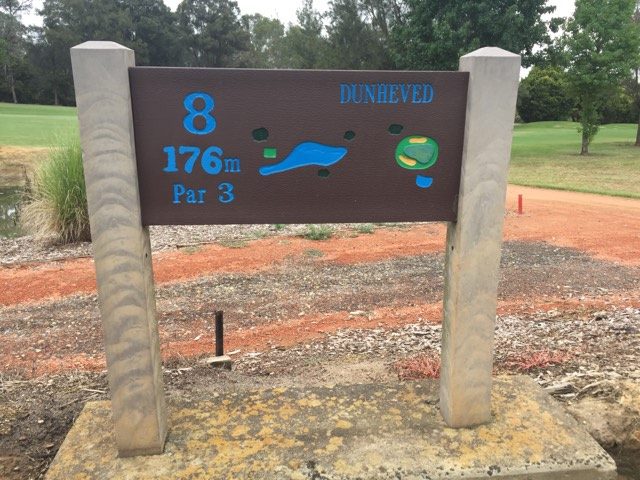
Hole 8 - Par 3 - 174m - Index 9
This is a tough par 3 that once again is guarded by bunkers on either side of the green. There is a hazard to the right of the green that can catch any ball that misses to the right of the bunker. The left hand side is protected by a number of trees that stick out to the right towards the hole.

Hole 9 - Par 4 - 403m - Index 1
The 9th hole is easily the most difficult hole on the course. 403m of golfing nightmare awaits those players hungrily awaiting the half way mark of the course. There is a creek that runs across the fairway 180m out from the green. This means that most golfer will have to lay up short of the creek with a 3 wood or iron. This will however leave players with a lengthy 2nd shot into the green. The green is raised and slopes from back to front and is guarded by a bunker short left of the green.

Hole 10 - par 4 - 397m - index 2
Another tough par 4 is waiting for you on the first hole of the back 9. the 10th is another lengthy par 4 that doglegs around to the right. The green is raised but flat and is guarded by bunkers on either side of the green.

Hole 11 - par 3 - 164m - index 8
The 11th is a straight forward par 3 slightly up the hill to a back to front sloping green. Hazard right off the tee and bunkers either side of the green mean missing the green here will make for a difficult up and down. The hold also drops off over the back of the green so short is better, especially with this severe back to front sloping green.
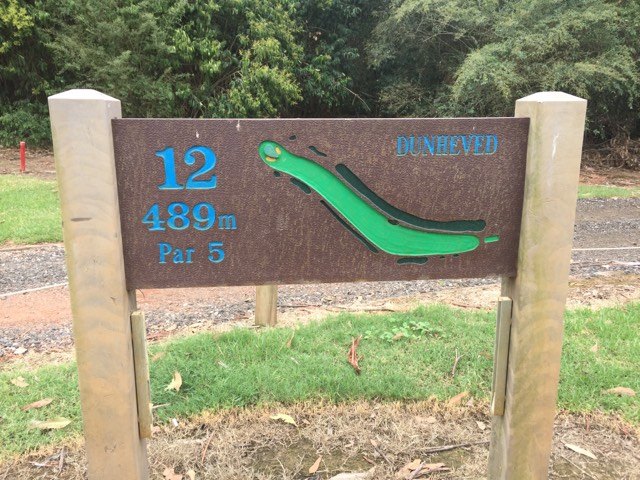
Hole 12 - par 5 - 489m - index 13
This is an exciting par 5 that doglegs to the right and then works its way towards an elevated green. There is hazard to the right of this hole which could prove costly for those players looking to cut the corner of this dogleg. Once around the corner, the hole is very simple but it can be a tricky approach shot to a green protected on the left by overhanging trees and bunkers on both sides..

Hole 13 - par 3 - 145m - index 15
A short par 3 that slopes from back to front and is guarded by bunkers all along the front and sides of the green. The slope drops away steep over the back of the green so don't go long.

Hole 14 - par 4 - 361m - index 14
The 14th is one of the easier par 4's on the course and is relatively short at 360m. This is a straight par 4 with a raised green sloping from back to front and protected by bunkers at the front of the green. Don't go right here as there are some thick trees off to the right and hazard as well.

Hole 15 - par 5 - 484m - index 18
The 15th is the easiest hole on the course and it is a straight par 5 lined with trees down both sides of the fairway. The hole moves slightly uphill before sloping back down towards the elevated green. The hardest part about the 15th is the green which is protected by bunkers on the front left and consists of two tiers that slope from left to right.
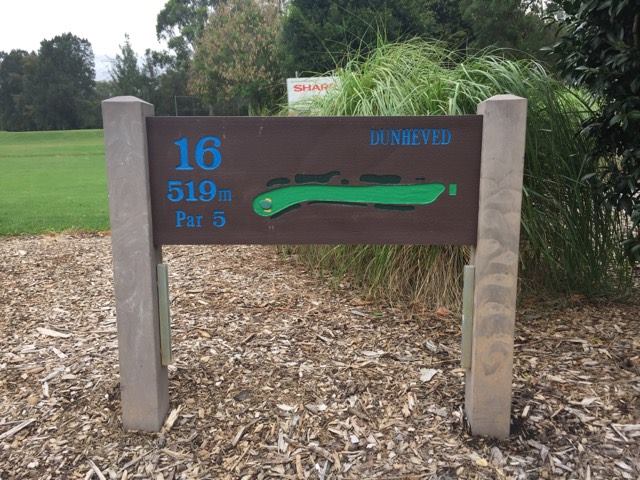
Hole 16 - Par 5 - 519m - index 10
The 16th is the longest hole on the course but is very straightforward. The hole drifts off to the right from the tee until it turns sharply to the left just before the green meaning any shots down the left hand side of the fairway will not have a clear shot at the green. the green slopes from back to front and from right to left as well. This green is guarded by bunkers at the front right of the green and on the left as well.

Hole 17 - Par 3 - 160m - Index 7
A tough little par 3 that slopes upwards to a severe back to front green with two tiers. Bunkers are located short left of the green and short right as well. Its important to get your ball on the same tier as the pin as a inaccurate shot could leave you with a tough putt straight up the hill or straight back down it. Which is way harder.

Hole 18 - par 4 - 369m - Index 5
The 18th hole is a dogleg around to the left requiring a tee shot either down the middle or right hand side of the fairway to ensure a straight shot towards the green for your second. There is a creek running across the fairway 70m short of the green, which is protected at the back and on the sides by bunkers.